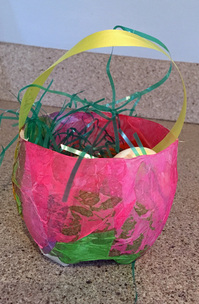
 Materials Needed:
This idea came from North Branch Preschool and is a great way to show off your colored Easter Eggs (to learn what to do with leftover dye and egg shells, visit here). 1. Have an adult cut the bottom of a rinsed-out soda bottle. 2. Cut or tear tissue paper into small squares 3. Mix glue and water in bowl. 4. Place a piece of tissue paper on your bottle (it's easier if it's upside down) and brush on some of the glue/water mixture. Repeat until the entire "basket" is covered. 5. Let dry. 6. After it dries, use a stapler to attach the ribbon (parents might want to do this). Be sure to use a strong ribbon that won't fray. 7. Add your grass. Now your basket is ready for Easter eggs!
0 Comments
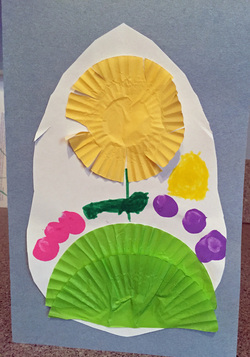 Materials needed:
This idea came from North Branch Preschool and is a great craft to help toddlers and preschoolers with their fine motor skills. 1. Fold your construction paper in half to make a card. 2. Cut out white paper in an oval or egg shape. 3. Take green cupcake liner and cut in half. Glue two pieces at bottom of white paper. 4. Draw a stem from the green liner. 5. Glue the other cupcake liner to the top of the stem to complete your flower. 6. Have your child dip his or her finger in paint and apply to the paper to make eggs. We chose pink and purple but any colors will do. 7. Use markers to make leaves or a sun, if you wish. 8. Glue entire piece to the front of your card. 9. Have your child write or decorate the inside of the card as desire.
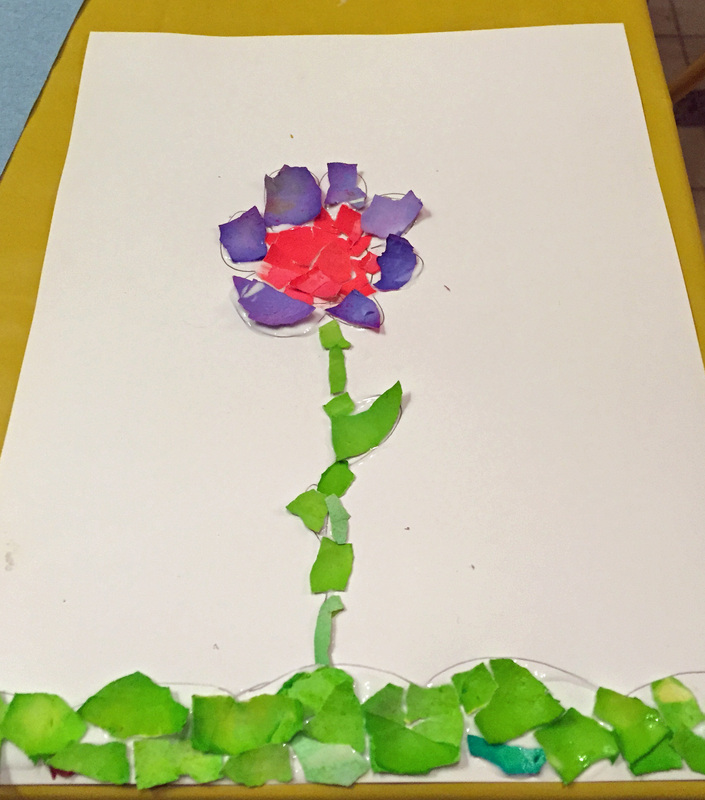
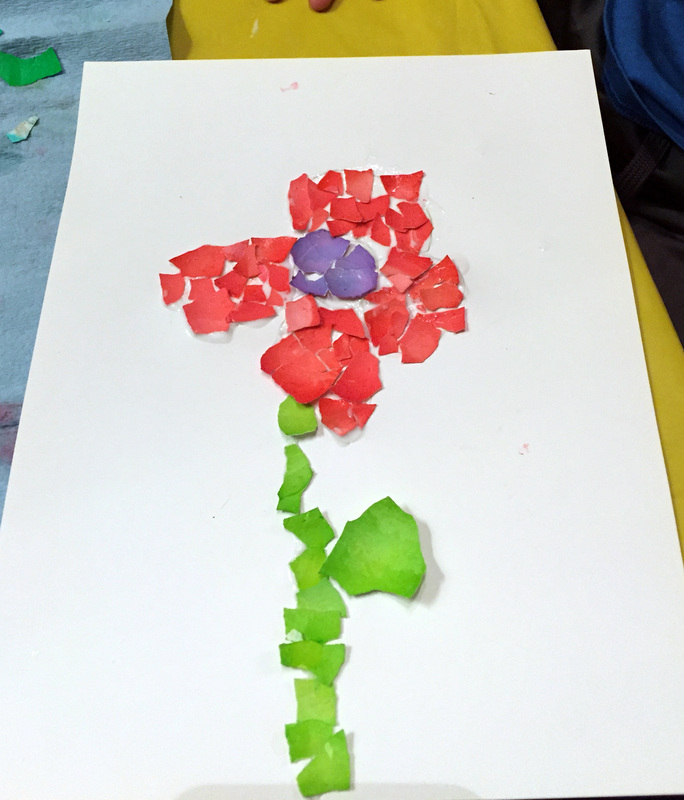
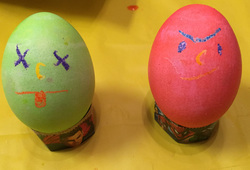 So we had some fun coloring our Easter eggs this year, but what do you do with all that leftover dye? I hated the idea of tossing it down the drain again, but this year I didn't have to. I found several Easter Egg dye craft ideas for leftover Easter egg dye, including using the dye to paint like watercolors. Haven't tried that one yet, but I had to try this great idea for using leftover dye and for putting the egg shells to good use. It's very easy and even little ones can do it with some help. Peel the shells off the egg. Try to do it in large pieces if you can. Rinse off the shells to get that lining off so the shells won't smell. Let them air dry. You can use colored eggs for this craft or if you crack an egg or two like we did (I didn't want to dip into the cracked eggs in the dye), just peel them and toss the pieces in. 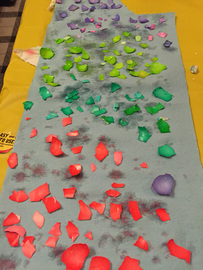 Let dyed egg shells dry before gluing Let dyed egg shells dry before gluing Once your shells are dry, just take a piece of paper or card stock and your child can arrange and glue them into whatever design they choose. It might help with younger ones, or artistically challenged people like me, to draw your design in pencil first and then lay out the egg shells. Use craft glue to trace part of the design and then attach egg shells. I would work in small sections so the glue doesn't dry. You can use large and small pieces, like a mosaic. Larger pieces, when possible, were easier to work with. One thing my 4-year-old really enjoyed was taking a larger piece, placing it where he wanted it and then pressing it to crack it into smaller pieces - which actually looked pretty cool. Both my kids (4 and 8 years old) decided to do flowers and you can see below that they came out differently. |
Categories
All
Archives
March 2018
AuthorSandra K. Lee is a freelance writer and stay-at-home mom with a 8-year-old princess & a 4-year-old superhero in Middlesex County, New Jersey. |

 RSS Feed
