 Materials Needed:
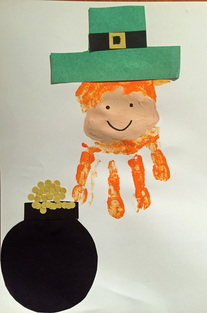
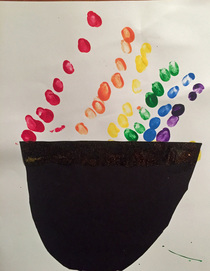
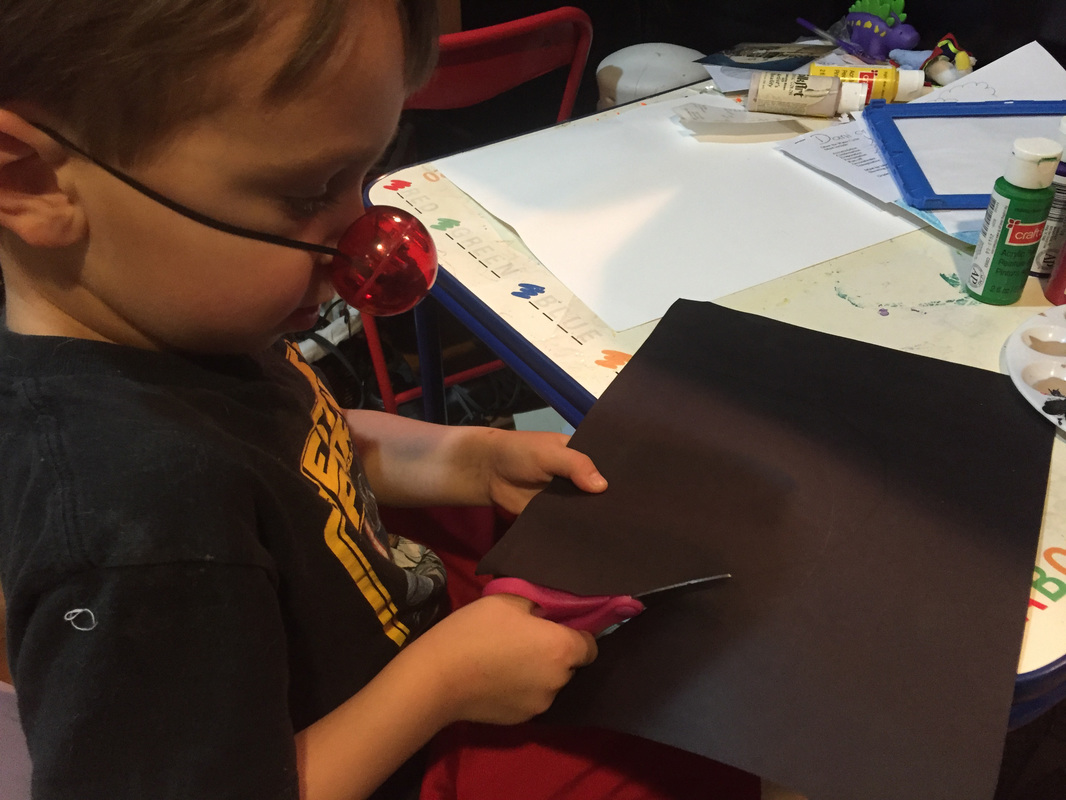
This craft was inspired by one of several St. Patrick's Day crafts posted by Elizabeth Lauren Art. I was not brave enough to try this craft with my 5-year-old son who is not, shall we say, as creatively minded or patient. So I enlisted by 9-year-old daughter to try this out. It can be done with a younger child, with some patience and guidance.
0 Comments
This is a craft that all ages can enjoy. You can use Dot Paints or in our case, my 5-year-old used his fingers, to make a great keepsake.
 This is a great craft for kids of all ages and fairly quick to complete. Materials Needed:
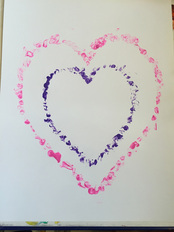
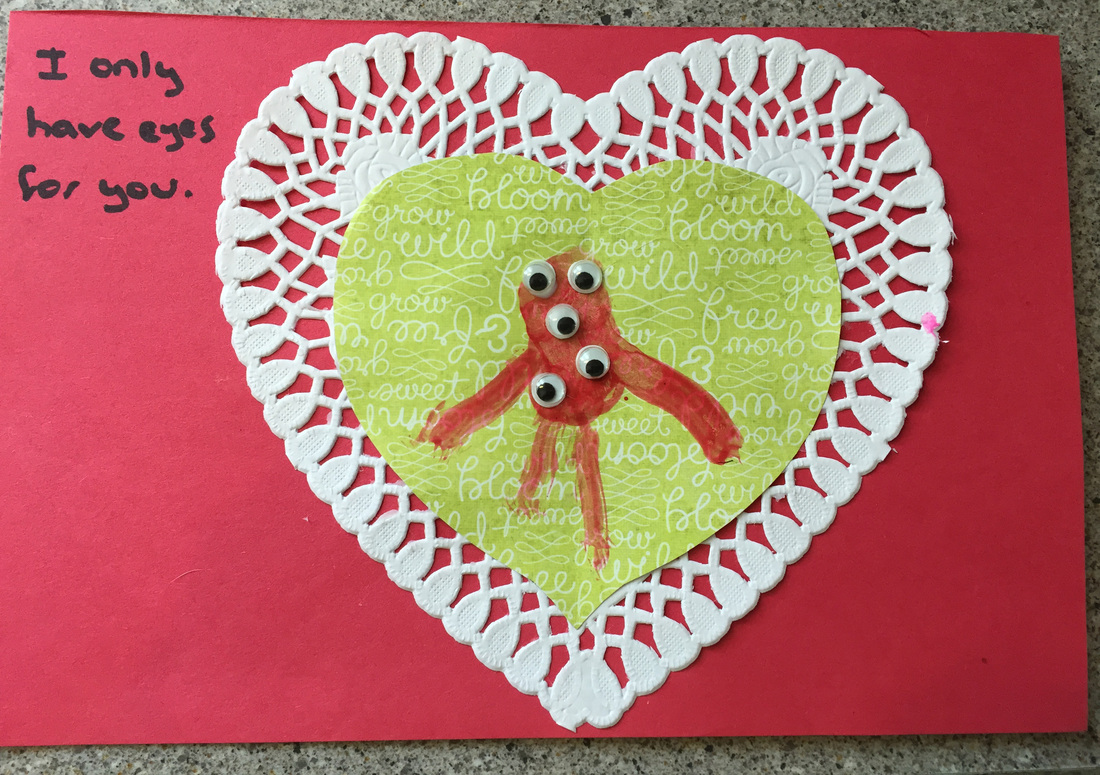
1. Take a piece of paper and fold it in half and then draw half a heart. 2. Cut out the heart and unfold it. Place it on your piece of white paper. 3. Take a pencil and dip the eraser end into your paint and dab it on your white paper around the edge of your heart. Continue until you have "stamped" around the entire heart. Adults may need to help younger ones stamp and hold the template in place. 4. Remove your paper and you should see a heart shape stamped in paint. 5. Repeat steps 1-4 for the next size heart. I'd recommend starting with largest to smallest heart. 6. Let paint dry. You can keep it plain as we did or decorate further or write a special Valentine's Day message. 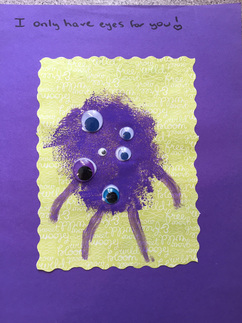 I Only Have Eyes for You Here is a very easy and cute craft that even the youngest child can do, with a little help. And there are several variations you can choose. Materials Needed:
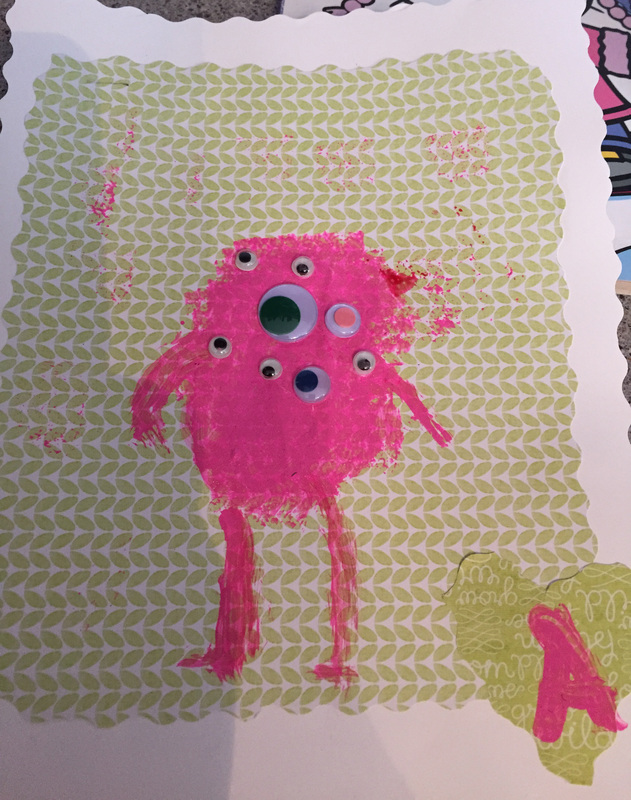
2. Pres thumb to smaller piece of paper. If you want a small monster, then it will take one or two thumbprints. A larger monster (as seen above) will take several prints or you can use the sponge. 3. Take a paintbrush or use finger to paint the arms and legs. 4. Let the paint dry a little and then use glue to apply the googly eyes. The number of eyes is up to your little artist. 5. If you want, use scallop scissors to cut a border around the paper. Then glue it to your larger sheet. 6. Use marker or pen to write your special Valentine's message or you can write something for any other occasion. You can make your monster as small or large as you choose and you can design a fancier card as well. See below: 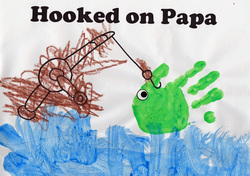 Supplies Needed:
A wonderful Father's Day craft for all ages. My son's preschool did this craft. I couldn't find the exact template so I made one with a different font for the words. You can download it here.
Here are alternatives for this craft that you can do as well:
 Supplies Needed:
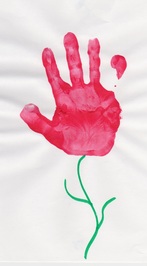
This is one of the easiest crafts we've ever done and makes a wonderful keepsake. I find using a sponge and paper plate for handprints is easiest but you don't have to do it that way. 1. Pour some paint on a paper plate and then dab the paint with a sponge (I get them at the dollar store). 2. Wipe off globs so you have an even covering on the sponge. Then blot the sponge on your child's hand. Or flip the sponge over on the plate (where there is no paint) and have your child place their hand on the sponge. 3. Have your child place their painted hand on the paper. (For younger children, you will need to guide them). 4. Then use the marker to draw a stem and, if desired, leaves. 5. Let dry. Then you have the perfect gift. 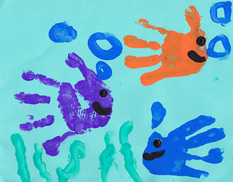 Materials Needed:
This is a great keepsake craft to give as a gift for Father's Day or a birthday or just because. There are other ways to apply handprints with paint but this is the way I prefer for slightly less mess. 1. Take first color of paint and put it on a paper plate. Use a paint brush or a sponge to apply the paint to your child's hand. Don't put too much on - just enough to cover the hand. 2. Help your child place their hand on the paper sideways. 3. Repeat with another color. (If you have more than one child, have each one do a handprint) 4. When all your fish are applied. Use your child's finger to make the bubbles, seaweed and eyes and mouths. I almost always have left over paint after a craft like this. Instead of just tossing it, I let my kids mash their hands in the remaining paint to make their own crazy paintings (they often mix the colors together). Their work is not usually frame-worthy but they have fun and I feel less guilty about tossing the paint. 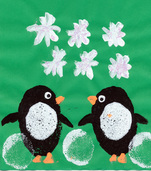 Items Needed:* Colored paper * White paint * Black paint * Orange paint * Potatoes or cheap sponges * Some paper plates * Paintbrush * A knife or scissors * Glitter (optional) * Hair dryer (optional) This idea came from the The Usborne Big Book of Playtime Activities although we modified it a little bit. 1. You can cut a potato in half to use as a stamp or just cut two sponges to the desired size. We used sponges and cut one large oval and one small oval (adults should do this part). 2. Squeeze some black paint onto a paper plate. Take the larger oval stamp (potato or sponge) and dip it into the paint. 3. Wipe off any excess paint on the side of the plate and then apply the stamp to the paper to create your first penguin. (My 5-year-old could do this with minimal assistance from me but an advanced 4-year-old might be able to do it without much help). 4. Repeat for the second penguin body. 5. Let black paint dry for a few minutes. You can speed this up by using a hair dryer. 6. Put some white paint on a second paper plate. Take the smaller oval stamp and dip it into the white paint and apply it to the middle of the black oval for each penguin's belly. 7. Take the paintbrush and dip it into the white paint and make a circle for each penguin's eye. Clean the brush and then make a black painted circle to make the pupils. (A young child can probably try this although my daughter wanted me to do it for her). 8. Then put the brush in the black paint again and paint the wings. A preschooler could do this. My daughter had me do the first wing, then help her with the second wing and then she did the last two wings by herself. 9. Clean off the brush and apply the orange paint to make the beak and feet. You're basically painting triangle shapes, which my 5-year-old did on her own. 10. Use the smaller oval stamp dipped in white to make the snowballs on the bottom of the picture. 11. Your child can use a finger or the paintbrush dipped in white paint to make the falling snowflakes. Have your child make a "cross" shape and then an "x" shape to make the snowflakes. For a bit of added flair, you can sprinkle some glitter onto the snowflakes while the paint is still wet. 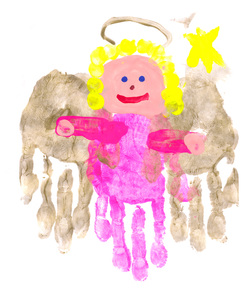 Items Needed: * Piece of paper or card stock (white is best) - you might need a few pieces * Craft paint (gold for wings and halo, other colors optional) * Sponges (get a bunch from a Dollar Store) * Paper Plates * Paintbrush * A few disposable rags or lots of paper towels Note: I did this craft with my 5-year-old which I think is the ideal minimum age. If you try this with a younger child, I would recommend at least two adults help with this craft. This craft, based on a project in The Usborne Big Book of Playtime Activities, can be messy and a little time consuming but it is worth the effort and makes a great keepsake. 1. Start with the "body" of the angel and apply your paint color to a paper plate. My daughter chose pink. 2. Rub the sponge on the plate and wipe off some excess and then place your child's hand on the sponge to apply the paint to his or her hand (this is like having a large ink pad). 3. Firmly place your child's painted hand in the center of the paper. If you don't get it right the first time, try again with a new piece. 4. Let the "body" dry for a few minutes; take this time to wipe off the excess paint. (Note: You could do the wings first to prevent multiple hand cleanings, but you'd have to be pretty certain of your hand placements). 5. Assuming you've done the body hand print first, now apply your gold paint to another plate. Spread a sponge on the gold paint (You could use the other side of the first sponge but you will get very messy. For a cleaner option, rinse the first sponge or just use a new sponge for this color). 6. Press your child's hand onto the gold-painted sponge. Wipe off any excess and firmly apply the hand to the paper, slightly overlapping your "body" hand print. 7. Then apply your child's other hand to the gold-painted sponge (you may need to add some paint to the sponge). Press this hand to the other side of the "body." 8. Allow the paint to dry a little and wipe your child's hands off. 9. Rotate the paper so the fingers are pointed down. 10. Use a pale pink or cream paint (or whatever skin tone you'd prefer) and have your child finger paint a circle for the head and two finger prints for the hands. For younger kids, you can help guide them. 11. Dip your child's finger in whatever paint color you've chosen for the hair color and apply the hair around the head in a dot pattern. 12. Draw a face with your choice of colors for the eyes, nose and mouth. (A paintbrush might be best here and an adult might be needed for this part). 12. Use the gold paint and draw a halo. Small kids can use their finger or a paintbrush. 13. You can embellish the picture with other decorations such as stars which can be drawn with the finger or a paintbrush. |
Categories
All
Archives
March 2018
AuthorSandra K. Lee is a freelance writer and stay-at-home mom with a 8-year-old princess & a 4-year-old superhero in Middlesex County, New Jersey. |

 RSS Feed
