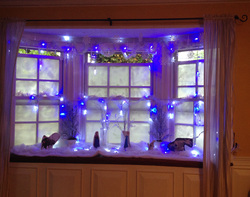
 This Disney Frozen landscape was a lot of fun to put together and a great addition for my daughter's Frozen Birthday Party and took about two hours to put together. One note, it is very difficult to find snow or winter items in the off-season (our party was in May) or very expensive. I was lucky to borrow several items from my mother's decoration stash and from my own holiday decor. However, she only had one can of fake snow spray. I had enough for these windows but ran out for the other windows in the room. There are several homemade alternatives such as using icing, which did look like snow, but I didn't want to attract ants. I chose to use toothpaste instead and no one noticed the difference in the windows. Big tip: If you use toothpaste, do it at least the night before a party because the entire room will smell like mint. 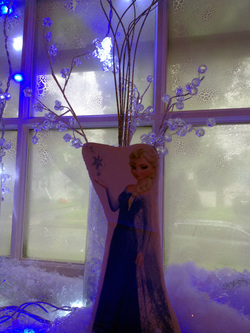 These Frozen figures really were a hit and accented the winter scene nicely. It took about an hour for me to make them. I found pictures of all the main characters and printed them out on white paper. I cut out the shape and then traced it onto cardboard (I used the box all my goody bag items came in - recycling at its best!). Then I cut out the cardboard (in the same shape as the paper picture). And then I used a glue stick to attach the paper picture to the cardboard. I took a small piece of cardboard and taped it to the back to stand it up. I also used stuffing to help the figures stand in the "snow." 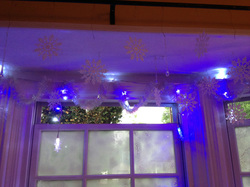 The rest of the scene took about 1 hour for my mother and I to create. I used fake snow spray on the windows. We strung a wire across the top and hung glittery plastic snowflake decorations (using wire) . We strung two strands of snowflake lights but you could also use icicle lights. The crystal trees were fake decorations that can be found in craft stores like Michaels. Some were placed in glass vases filled with plastic crystals. 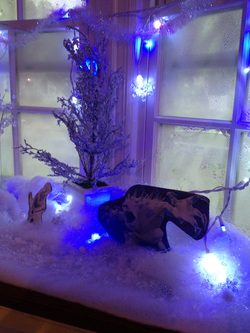 The snow along the bottom was simply stuffing that we rolled out. Then we glammed it up with fake snow shavings, small plastic glittery snowflakes and irridescent stuffing (kind of like what you'd use in an Easter basket). The glass tree looks ice-covered. My mother found them at a store a while ago, which was lucky for me but you can find something similar at a craft store. The windows were "frosted" with fake snow spray. There are other homemade options including using toothpaste or white icing.
0 Comments
Fairytale Things to Make and Do by Leonie Pratt has lots of cute ideas for crafts but some people (like me who likes crafts but doesn't always have the artistic ability to back it up) might find some of the projects difficult to reproduce.
Amazon lists the book as being for 4-8 year olds, but they will need adult supervision and, in many cases, help because scissors and glue are essential to a majority of the crafts. An adult can help three and four year olds with some of the projects, such as:
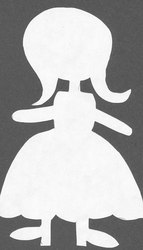
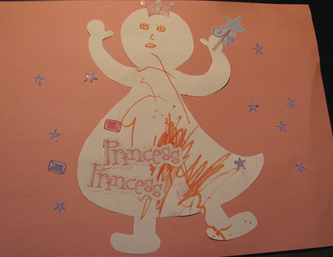
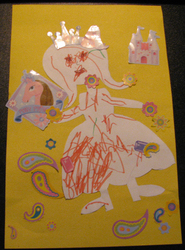
Materials needed: * card stock paper * colored paper * template (or use mine below) * scissors * crayons or markers * craft glue * stickers or glitter (optional) This craft was inspired by The Paper Princess by Elisa Kleven. You can see the finished product below the templates. This is a great, simple craft to do with your princess. You could also modify the figure for a boy. Draw an outline of a princess (to make a fairy simply add wings) on your card stock paper. You can use my template (see below) or search online for something to print and trace over (searching for princess silhouette gives some decent results). If you're drawing your own princess, don't worry if you make mistakes. Once you've drawn the outline, cut it out. This card stock princess will be your template if you ever want to do this project again. Place the template on a sheet of paper (it can be white or colored, depending on how your child wants to decorate it). Trace around your template on the new sheet of paper. Then cut it out. Let your child decorate the princess however she wants. When your child is done decorating, glue the paper princess to a new sheet of paper in a color of your choice. Once the glue dries, you can proudly display. Templates below: These are my crude attempts to draw paper princess templates. The one on the right is my version of Elisa Klevin's Paper Princess. You also can draw your own or find others online. If you use my template on the left, just be careful not to cut off her head when cutting her out; her neck is a little thin! The finished versions done by my 3 1/2 year old. After coloring and gluing she decided she wanted to add stickers.
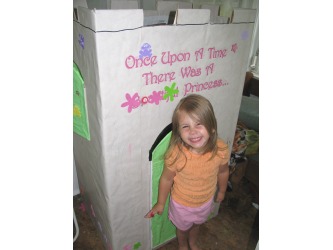
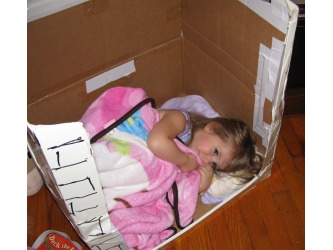
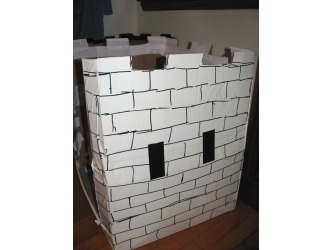
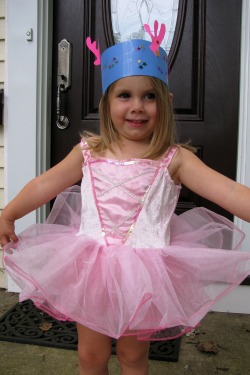 A crown fit for a princess - or prince A nice way to reinforce the letter C of the alphabet & encourage pretend play. Materials Needed: * scissors * a few pieces of different colored paper (at least two need to 8 1/2 by 11) * tape or glue (tape might hold up better) * stencils (optional) * stickers or other decorative elements (optional) * markers or crayons (optional) Take a piece of colored 8 1/2 by 11 paper and cut it in half. Then tape them together. Depending on the size of your child's head, you might need to trim one end before taping the other end to form the base of the crown. Take different colors and have your child draw (or you can draw) various shapes. The crown we made was an Ariel crown and we made squiggly coral (use the link for a template if you choose coral). But you can make anything - animals, shapes or even stencils for particular designs. Once you have them cut out, now is the time to decorate them if your child desires. You can use stickers, crayons or markers to make designs. Then glue or tape the decorations to the base of the crown. Ok, I can't take credit for doing this craft but I'd like to think I could pull it off as well. My mother took some cardboard boxes, including a large freezer box, and turned them into very cool castles. She put these together for our daughter's third birthday party, but this is a fun thing to do anytime. |
Categories
All
Archives
March 2018
AuthorSandra K. Lee is a freelance writer and stay-at-home mom with a 8-year-old princess & a 4-year-old superhero in Middlesex County, New Jersey. |


 RSS Feed
