 Ingredients:
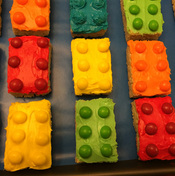
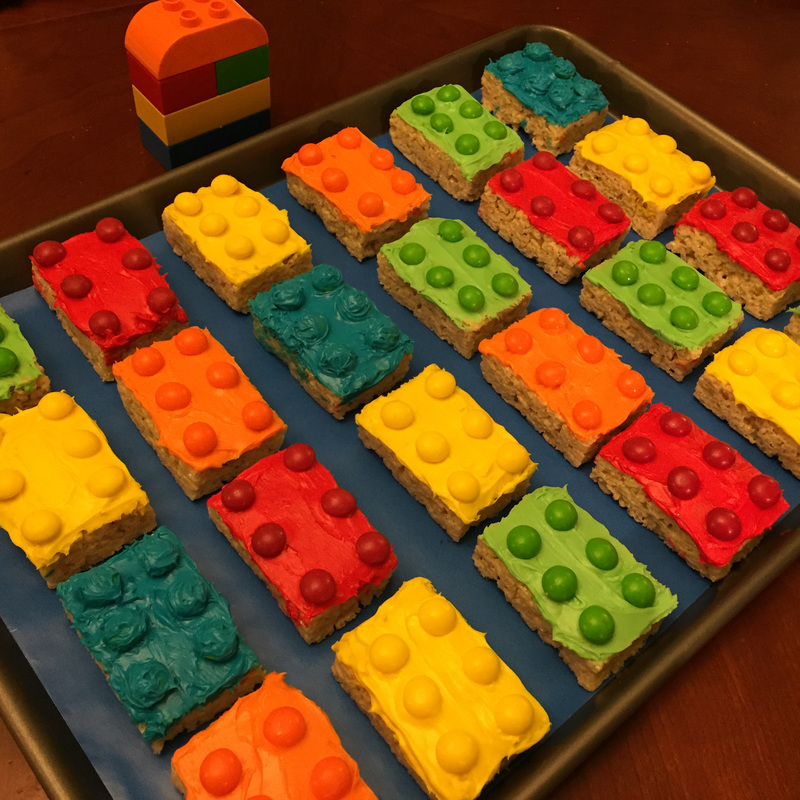
These Rice Krispy treats were very easy to make but a bit time consuming. It took just under two hours to make 20, but I had a young helper so possibly on your own it could be less. Also, doing one color at a time would save time. You can make these using M & Ms, which I would STRONGLY recommend if you want a decent blue Lego (I wasn't happy with mine), but my son's school has a strict nut-free policy, so we used Skittles and made our own blue. 1. Add your selected food coloring to some white icing. Mix enough the first time because you won't be able to match the color later. Three or four large dollops of icing will cover 4 or 5 Rice Krispy treats, depending on how thick you want the icing. If you decide to ice the entire treat, you will need a lot more icing. I chose to ice only the top because I thought it would be too messy for a bunch of preschoolers to pick up. 2. Ice your treat. Then apply the corresponding colored M&M or Skittle to the top. (This is a GREAT job for a kid). 3. If you use Skittles for the top and want blue, it can be done but they don't come out as nice in my opinion. I used yellow skittles and then iced them in blue. I found using a toothpick to touch up the icing was easier than a knife. 4. Serve. And sit back and enjoy the excitement!
0 Comments
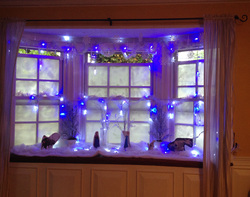 This Disney Frozen landscape was a lot of fun to put together and a great addition for my daughter's Frozen Birthday Party and took about two hours to put together. One note, it is very difficult to find snow or winter items in the off-season (our party was in May) or very expensive. I was lucky to borrow several items from my mother's decoration stash and from my own holiday decor. However, she only had one can of fake snow spray. I had enough for these windows but ran out for the other windows in the room. There are several homemade alternatives such as using icing, which did look like snow, but I didn't want to attract ants. I chose to use toothpaste instead and no one noticed the difference in the windows. Big tip: If you use toothpaste, do it at least the night before a party because the entire room will smell like mint. 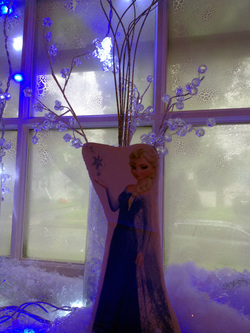 These Frozen figures really were a hit and accented the winter scene nicely. It took about an hour for me to make them. I found pictures of all the main characters and printed them out on white paper. I cut out the shape and then traced it onto cardboard (I used the box all my goody bag items came in - recycling at its best!). Then I cut out the cardboard (in the same shape as the paper picture). And then I used a glue stick to attach the paper picture to the cardboard. I took a small piece of cardboard and taped it to the back to stand it up. I also used stuffing to help the figures stand in the "snow." 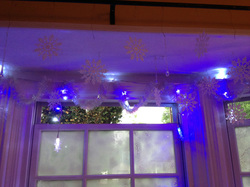 The rest of the scene took about 1 hour for my mother and I to create. I used fake snow spray on the windows. We strung a wire across the top and hung glittery plastic snowflake decorations (using wire) . We strung two strands of snowflake lights but you could also use icicle lights. The crystal trees were fake decorations that can be found in craft stores like Michaels. Some were placed in glass vases filled with plastic crystals. 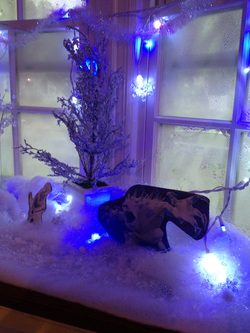 The snow along the bottom was simply stuffing that we rolled out. Then we glammed it up with fake snow shavings, small plastic glittery snowflakes and irridescent stuffing (kind of like what you'd use in an Easter basket). The glass tree looks ice-covered. My mother found them at a store a while ago, which was lucky for me but you can find something similar at a craft store. The windows were "frosted" with fake snow spray. There are other homemade options including using toothpaste or white icing. 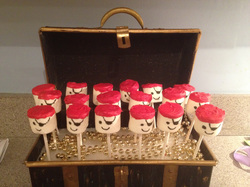 Ingredients:
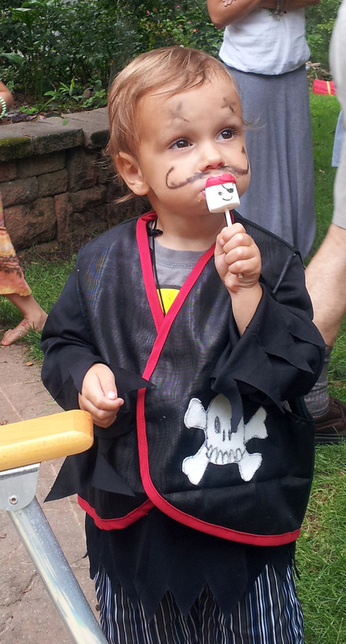
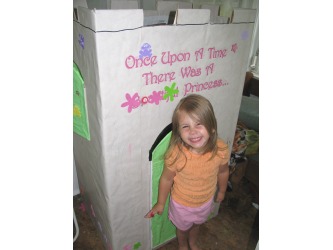
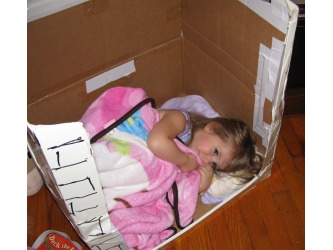
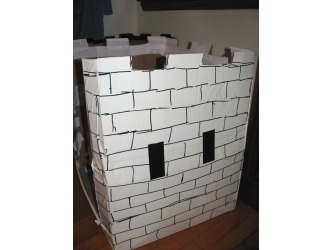
2. If you have long lollipop sticks you can cut them in half and just poke the "cut" end into a marshmallow. 3. Holding the marshmallow by the stick, dip the top portion of the marshmallow into your melted chocolate. You have to kind of swirl it around but be careful not to drip it. I often didn't like the coverage from dipping it and used a small knife to spread some extra chocolate around. 4. Use your edible pen to paint the eye, patch and mouth. 5. Stick your pop in a foam base or something else where it can dry without getting smudged. We made these for a pirate birthday party so if you just want some pirate fun, then you don't need the optional ingredients listed. These are fairly easy to make but still a little time-consuming, especially if you want them to look perfect for a party. I had my 7-year-old daughter and her friend help with some of them - the bad mistakes they got to eat and the less-than-perfect ones were put in the back. There is another way to make them, but I thought using the candy melts was a lot easier. Ok, I can't take credit for doing this craft but I'd like to think I could pull it off as well. My mother took some cardboard boxes, including a large freezer box, and turned them into very cool castles. She put these together for our daughter's third birthday party, but this is a fun thing to do anytime. |
Categories
All
Archives
March 2018
AuthorSandra K. Lee is a freelance writer and stay-at-home mom with a 8-year-old princess & a 4-year-old superhero in Middlesex County, New Jersey. |

 RSS Feed
